How to Get Free SSL Certificates and Install to Website
Most websites use the (HTTP) which isn’t secure by default. However, it’s entirely possible to make your website secure by installing a Free SSL certificate. A combination of HTTP and SSL enables websites to maintain an encrypted connection over the internet.
SSL For Free is an open source certificate authority that makes it easy for everyone to install SSL certificates. In this article, we will guide you through a step by step tutorial on how you can install a free SSL certificate on your WordPress site. But before we begin, let’s take a look at what SSL certificates are and why you may want one on your site
What Is SSL Certificate?
As we briefly mentioned above, HTTP acts like a connecting bridge between your site and the user’s browser. By default, HTTP isn’t encrypted which poses a potential security threat to your site’s visitors. To fence this weak link, SSL is used as a checkpoint to guarantee the security of the data being exchanged over the web.
Data encryption is enabled by installing an SSL certificate so that your WordPress site uses HTTPS instead of HTTP. Every site is issued with a unique SSL certificate for identification purposes. So there are three types of certificates that indicate the levels of trust by the user in the SSL negotiation:
1. Domain Validated Certificate
2. Organization Validation Certificate
3. Extended Validation Certificate
Benefits of SSL Certificate
Switching over to HTTPS is a great way to increase your WordPress site’s security. In addition to this, it also allows potential customers and subscribers to interact with your site without having to worry about their personal data being intercepted. This would not only help in building trust but would also give your search engine ranking a boost.
- Transactions. Security is one of the major concerns. Especially if you are running an e-commerce site because you should accept payments securely. You need your site to be encrypted if you want to prevent yourself from losing sales and safeguarding your customers from vulnerability. Additionally, this is a definite plus for your site’s image and reputation.
- Web forms. Companies dealing with web forms which contain personal information of the users need to have a secure connection. Understandably so, users wouldn’t want their information going into wrong hands, therefore, it’s a better idea to use an SSL certificate.
- User login information. Keeping your user’s login information secure is vital. If you’re running a membership site then it’s important that your site’s visitors know that their login credentials are encrypted on the back end.
- SEO As we mentioned before, HTTPS is already being used as a ranking factor for search engines and it is expected in the future that it would have an even greater impact. To ensure that websites shift to HTTPS, Google has made it a bare minimum that every site that shows up in the search engine is using secure protocols. This would improve the quality of SEO and help in identifying unique content.
Now that we know what an SSL certificate is and why it’s a good idea to install one, let’s take a look at how you can easily get a free SSL certificate and implement it on your WordPress site – the right way.
How to Get Free SSL Certificates and Install to Website
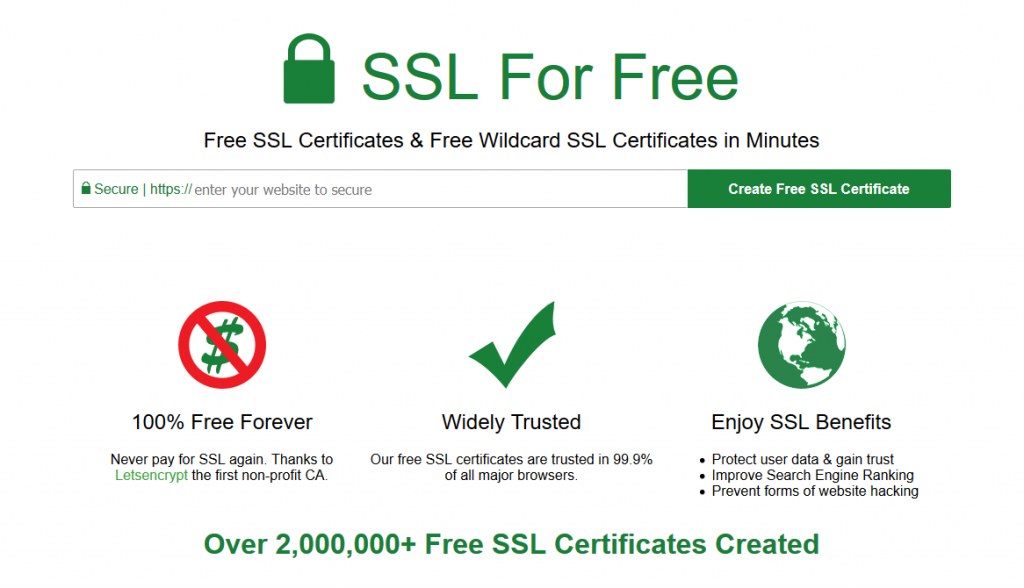
SSL For Free is a certificate authority that has hugely simplified installing an SSL certificate. Back in the day, acquiring an SSL certificate was not only cumbersome but costly, as well. Today, SSL For Free offers free, automated certificates for everyone giving them what they need to enable HTTPS on their websites.
Since you’ll be messing around with WordPress’ back end, as a precautionary step, creating a full backup of your website is one of the most important things to do before you begin.
Step 1: Install Your Free SSL Certificate
If you do not have your FTP information then follow the following steps to verify domain ownership manually. The server will need to be on port 80 if HTTP (or port 80 open and forwarding to 443 if HTTPS). If your web server is not listening on port 80 then you will need to temporarily listen on port 80 or forward port 80 to the port for the web server.
- Get domain verification files by clicking the button below
- Upload domain verification files to domain (Need help?)
- Download your free ssl certificate
Upload Verification Files
- Download the following verification files by clicking on each link below
- Create a folder in your domain named “.well-known” if it does not already exist. If you use Windows you may have to add a dot at the end of the folder name in order to create a folder with a dot at the beginning.
- Create another folder in your domain under “.well-known” named “acme-challenge” if it does not already exist
- Upload the downloaded files to the “acme-challenge” folder
- Verify successful upload by visiting the following links in your browser
- If the files do not show random alphanumeric characters or shows an error then recheck that you are uploading in the correct place. Also try viewing the page source (Right-click then click “view page source”) of the above links to make sure nothing else shows up but the verification file contents. If you use IIS then you may have to change your server config so that files without an extension (or the wildcard MIME type) serves as text/plain. Contact your host if you are unsure.
- Click Download SS
WATCH VIDEO STEP BY STEP GUIDE
Step 2: Update Your WordPress URLs
Once you took the initial step, from a technical viewpoint, your site is using HTTPS. To get maximum benefit out of it, you need to change the URLs of your Word Press site. This is to ensure that the traffic doesn’t keep going back and forth between the insecure and secure link. So it’s important to inform your browser about the changes you have made to the domain.
If you have a new WordPress website then all you have to do is change the URLs from your site’s settings page.
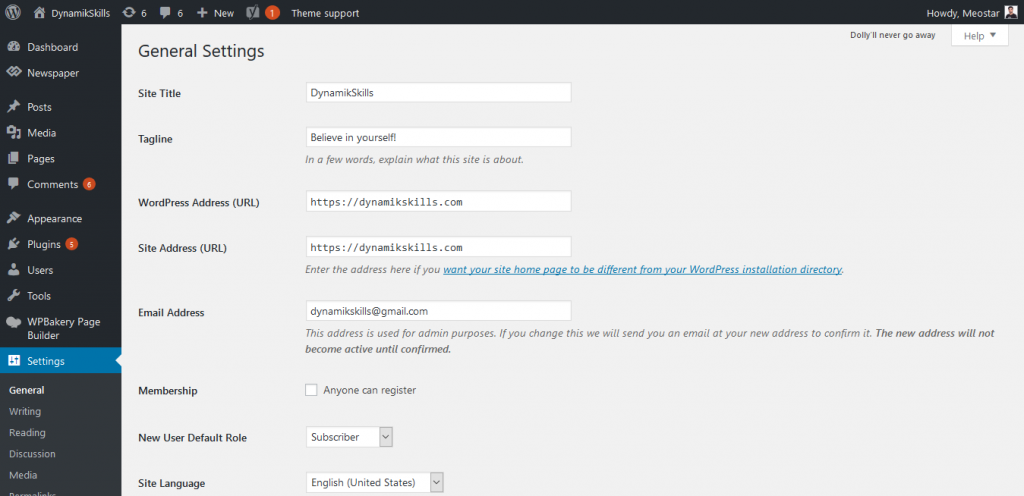
1. Go to the General Settings menu from your WordPress admin panel by navigating to Settings > General.
2. Scroll down to WordPress Address URL and Site Address URL.
3. Update fields by replacing HTTP with HTTPS in both text boxes.
On the other hand, if your website is already being indexed by search engines then you’ll have to update the URLs by installing a plugin. We recommend going with the Really Simple SSL plugin because you don’t have to configure any settings – once you’ve activated it, it’ll update your WordPress site’s URLs automatically.
If you are having a problem with updating the URL of your WordPress sites head over to the WordPress Codex for more information.
Step 3: Update Your Google Analytics Settings
Google Analytics is an analytical tool that allows you to monitor your traffic and lets you manage the site related progress and problems. So that, if you use it then you’ll have to update your site’s URL from Google Analytics’ Property Settings.
Start off by logging into your Google Analytics account. From the dashboard, head over to Admin and click on Property Settings. Next, click on http:// and choose https//. Finally, click the Save button at the bottom of the page to update the settings
Conclusion
In the article, we discussed what a Free SSL Certificate is and how it can help you encrypt the connection between the visitor’s browser and your site, why opting for SSL certificates is a good idea, and how you can acquire an SSL certificate from SSL For Free.
The installation and updating procedure cover 3 simple steps:
1. Install free SSL certificate either manually or through your current hosting provider.
2. Update WordPress site URLs to divert your site traffic through a secure channel.
3. Update Google Analytics settings to ensure that the data being analyzed after migrating to HTTPS is accurate.
We hope that this article has been helpful. But if there are any queries regarding installing an SSL certificate that we have not addressed in this article then be sure to let us know in the comments section below.


